

Before we begin, I’d like to offer a small disclaimer: This is not necessarily the best way for everyone to make ribbon rosettes. I have found that there are other ways that fit different learning styles and yield beautiful rosettes. This is just the way I do it, and it has been quite successful for me.
Once you get the hang of it, you will be able to do a rosette in just a couple of minutes. The issue is less understanding the process, and more making your fingers do what your brain wants them to do.
So, to begin… Here’s what you don’t want to do-
1) Don’t squish it. It’s not going to run away from you.
2) Don’t be afraid to hold it firmly. It isn’t going to break.
3) The ribbon doesn’t need to be pulled as tight as humanly possible, but don’t leave slack.
Here’s what you should do-
1) Start with a cut of ribbon. Any length over 18” will do. The longer the cut of ribbon, the larger the rosette will be. As it gets bigger, it does get more difficult and you may need to pause and glue the back before continuing to twist.
I used 7/8” ribbon for this tutorial. My favorite to use is ¼” or 3/8” for the look, but any size will work. You can use grosgrain, but I would recommend satin.

2) Tie a knot in the end of the ribbon. Try to tie it with little excess, or just cut off the end.
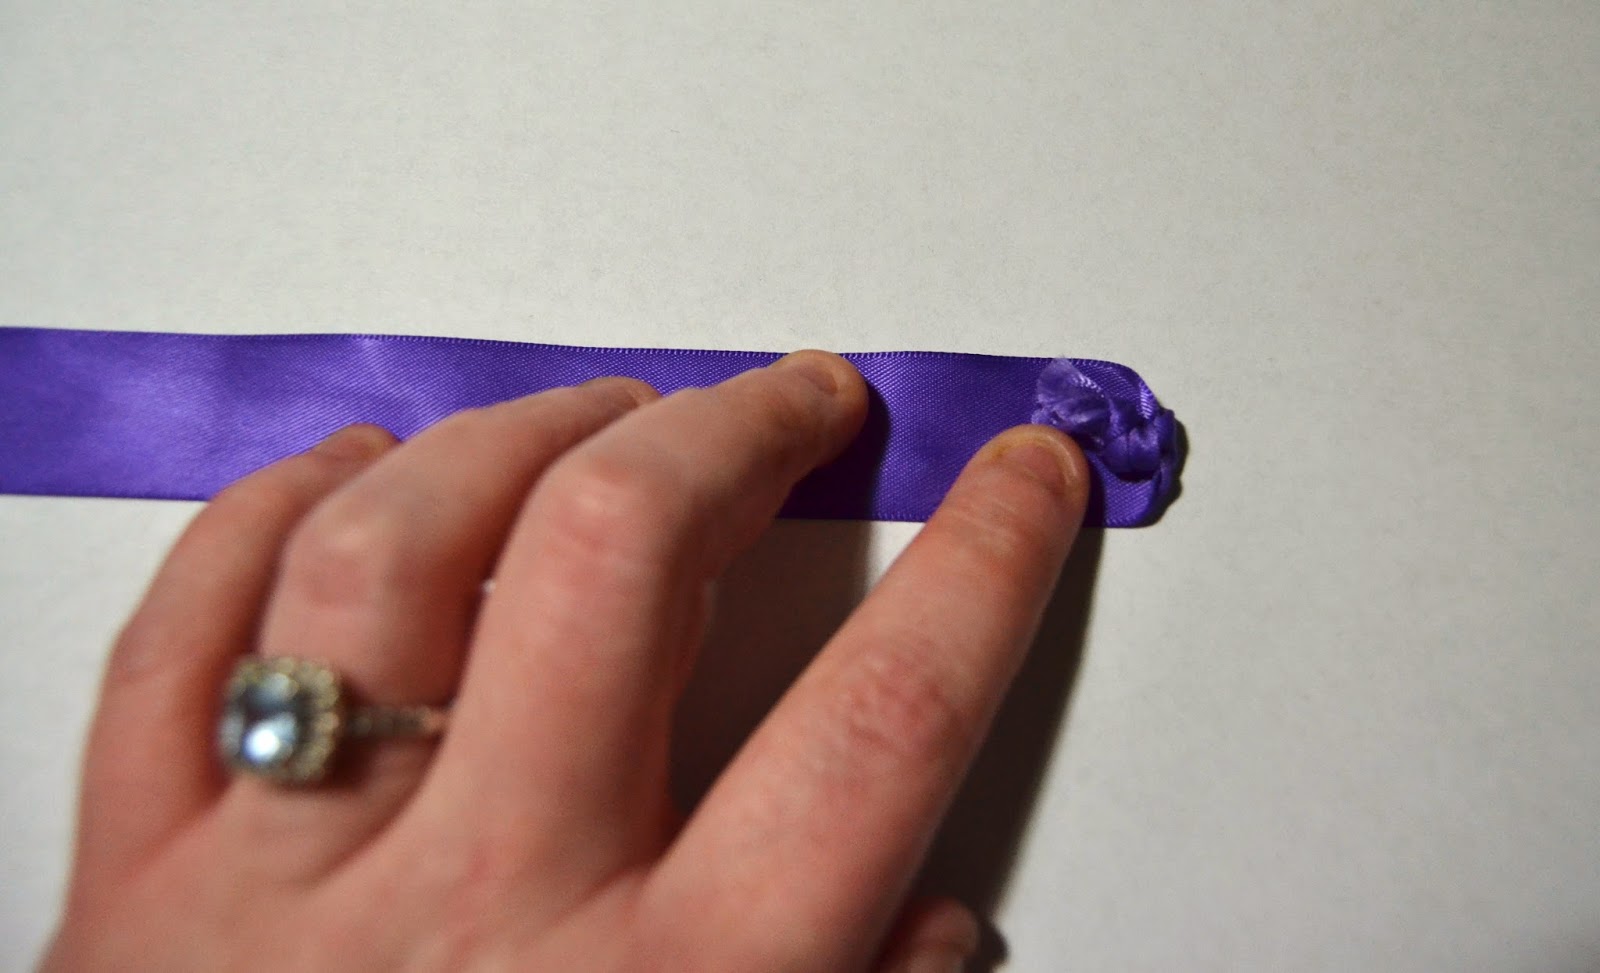
3) Tuck the knot into the ribbon and roll around it. If you’re holding the knot in your left hand and wrap the ribbon around it to the right (clockwise) with the right side of the ribbon out, it should look like this:

One full wrap-around with the ribbon should be enough.
4) Hold the ribbon taught from the knot. Follow the top line of your ribbon (whichever side you have up is the top) and see where it is starting to make a strong angle. Instead of going horizontally away from the knot, the ribbon should make a slight upward slant. Where the slant starts, fold the ribbon towards yourself (away from the knot) until the ribbon makes a horizontal line from the knot.

Then, when the ribbon starts to make a slant away from horizontal again, fold it the same way. Continue this over and over and over until you reach the end of the ribbon.


5) Fold the end of the ribbon towards the underside of the rosette.

Glue the edge down and run the glue gun around the bottom of the rosette, getting glue into all the crevices between the layers of ribbon. Let it dry.
 |
| Yes, I bite my nails. No, not while I'm working. |
That should be it! Here’s what the top and bottom of your rosette should look like:


Use it on whatever types of projects you’d like! Rings, earring studs, hair pins, brooches… The sky is the limit!
No comments:
Post a Comment